Hardpoints and Frames for Bondage
At some point in your rope suspension journey, you may crave the ability to do rope at home (or on the go) and look at options for hardpoints or frames. This is my rundown of recommendations and comparison of different suspension frames for rope bondage, including the pros and cons of different options. It is based on my experience with self- and partnered suspension, as well as event production (moving and setting up various frames).
Where I have information from the manufacturer on the working load and/or breaking strength, I have included that. Note that of the portable frames included here, only the second option would be considered adequate by most aerial rigging standards.
Especially with lightweight, smaller frames, it's crucial to stay within the frame's footprint. Moves like drop lifts that put the lifter outside the footprint, as well as dynamic movement, can capsize frames.
Option 1: Install a hardpoint in your home
Cost: Variable. Mine cost over 2k to have installed.
Breaking strength & working load: Varies and will need to be assessed on an individual basis, by an expert (ideally a structural engineer). Rigging plates like these (installed correctly in an appropriate beam) are one option.
Portability scale (0 = impossible to transport/set up, 10 = as easy to transport and set up as it's possible to be): 0
PROS:
Maximizes height and surrounding space, allowing for a full range of extended positions while spinning and so on.
Out of the way, elegant, minimal.
CONS:
There is no way around it – you must hire an experienced professional to install a point. This requires extensive knowledge (structural engineering, rigging, etc). Finding someone qualified can be difficult, and it is generally very expensive. Even if hanging a point looks simple, for example, if you have exposed beams, it should still be structurally assessed.
This option is primarily limited to individuals who own their homes or venues (or have a wanton disregard for recovering their security deposits).
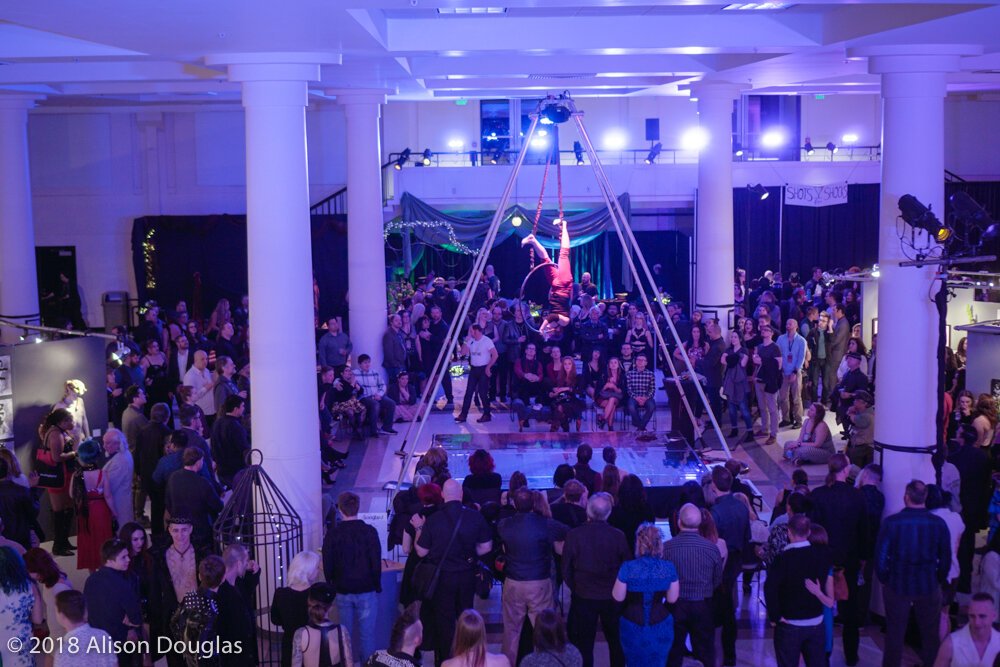
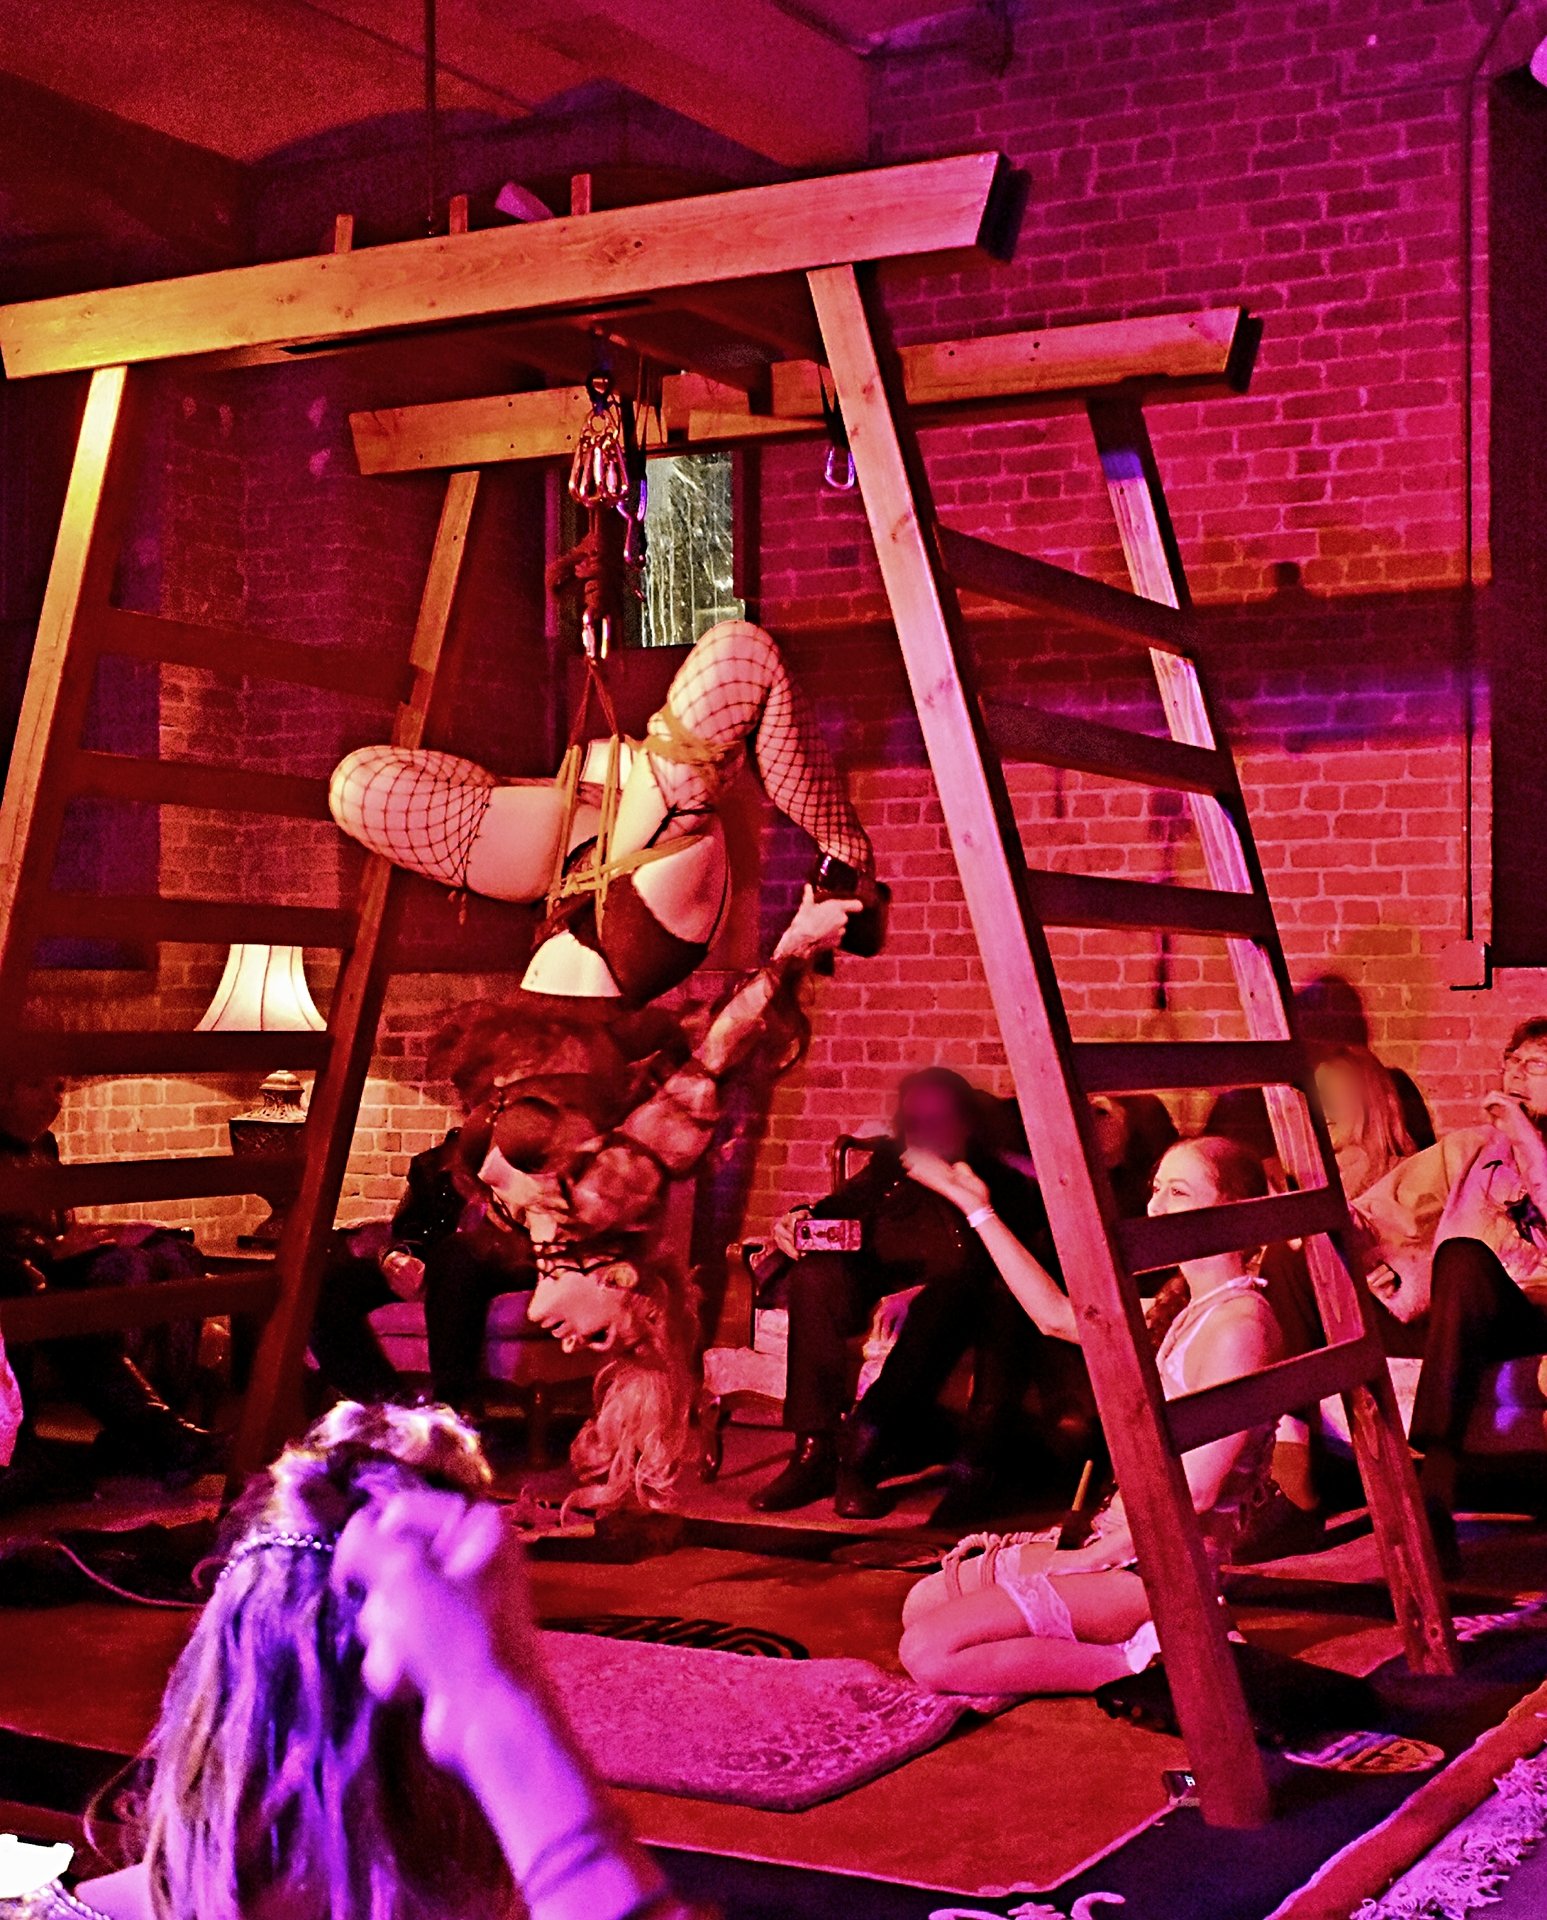
Option 2: Circus-level aerial rigs such as the Circus Gear Portable Aerial Rig, Suspendulum, or the Ludwig Portable Aerial Rig (now VVolfy)
Cost: From around 2k to well over 5k
Breaking strength & working load: Varies by model. Manufacturers should provide detailed information. Safe working load (SWL) for static aerial tends to be around 400lbs.
Portability scale: Varies somewhat by model. The ones I have used, I would rate between a 3 and 5.
Generally, these frames require at least two people, sometimes four, to set up.
Most models do not require tools.
PROS:
Suitable for dynamic movement, often including some swinging, and built to be safe for aerial-scale work.
Can go much higher than other portable frames and have more space on the inside.
Minimal sway, wiggle, or movement.
Can be set up with a pulley system, allowing height adjustment. Note that pulley systems add an additional layer of technical complexity.
CONS:
Expensive. Models run from about 2k to well over 5k.
Require a large footprint for set-up. Tend to have high minimum heights (they don’t often offer setup options for spaces with standard 8-foot ceilings).
Heavy, bulky, and difficult to transport.
Often sold out or with manufacturing delays.
Many styles cannot accommodate bamboo or multi-point suspensions.
This write-up offers a comprehensive assessment of various aerial circus frame brands.
RECOMMENDATIONS:
I strongly prefer the Ludwig, with an extended top bar. I recommend adding all the optional hardware (it’s not an expensive add-on) and including extra hardware (at least a couple of pins, set screws, and an extra hex wrench) in your order.
Reasons I like the Ludwig are:
It offers more height options than any other aerial rig I have used. It can be set up from any height from 6’ to 19’, in 6” increments. Other rigs I have used do not offer nearly as much flexibility.
The top bar (especially the extended one) allows the option to hang bamboo. This is not an option on single-point rigs such as the Circus Gear.
The top bar gives more space inside the rig, especially near the top and at lower heights. This is helpful so that you don’t hit your legs on the frame legs when in extended shapes.
Be aware that Ludwigs are notoriously bite-y during set-up. I have a scar on my finger from pinching it between the leg pieces. Always wear protective work gloves while setting up the frame!
Shay & Angel performing at Up Your Alley on a Ludwig frame (with extended top bar). The frame is set up straddling the stage.
Myles Higher performing on a Circus Gear portable aerial rig, at Seattle Erotic Art Festival
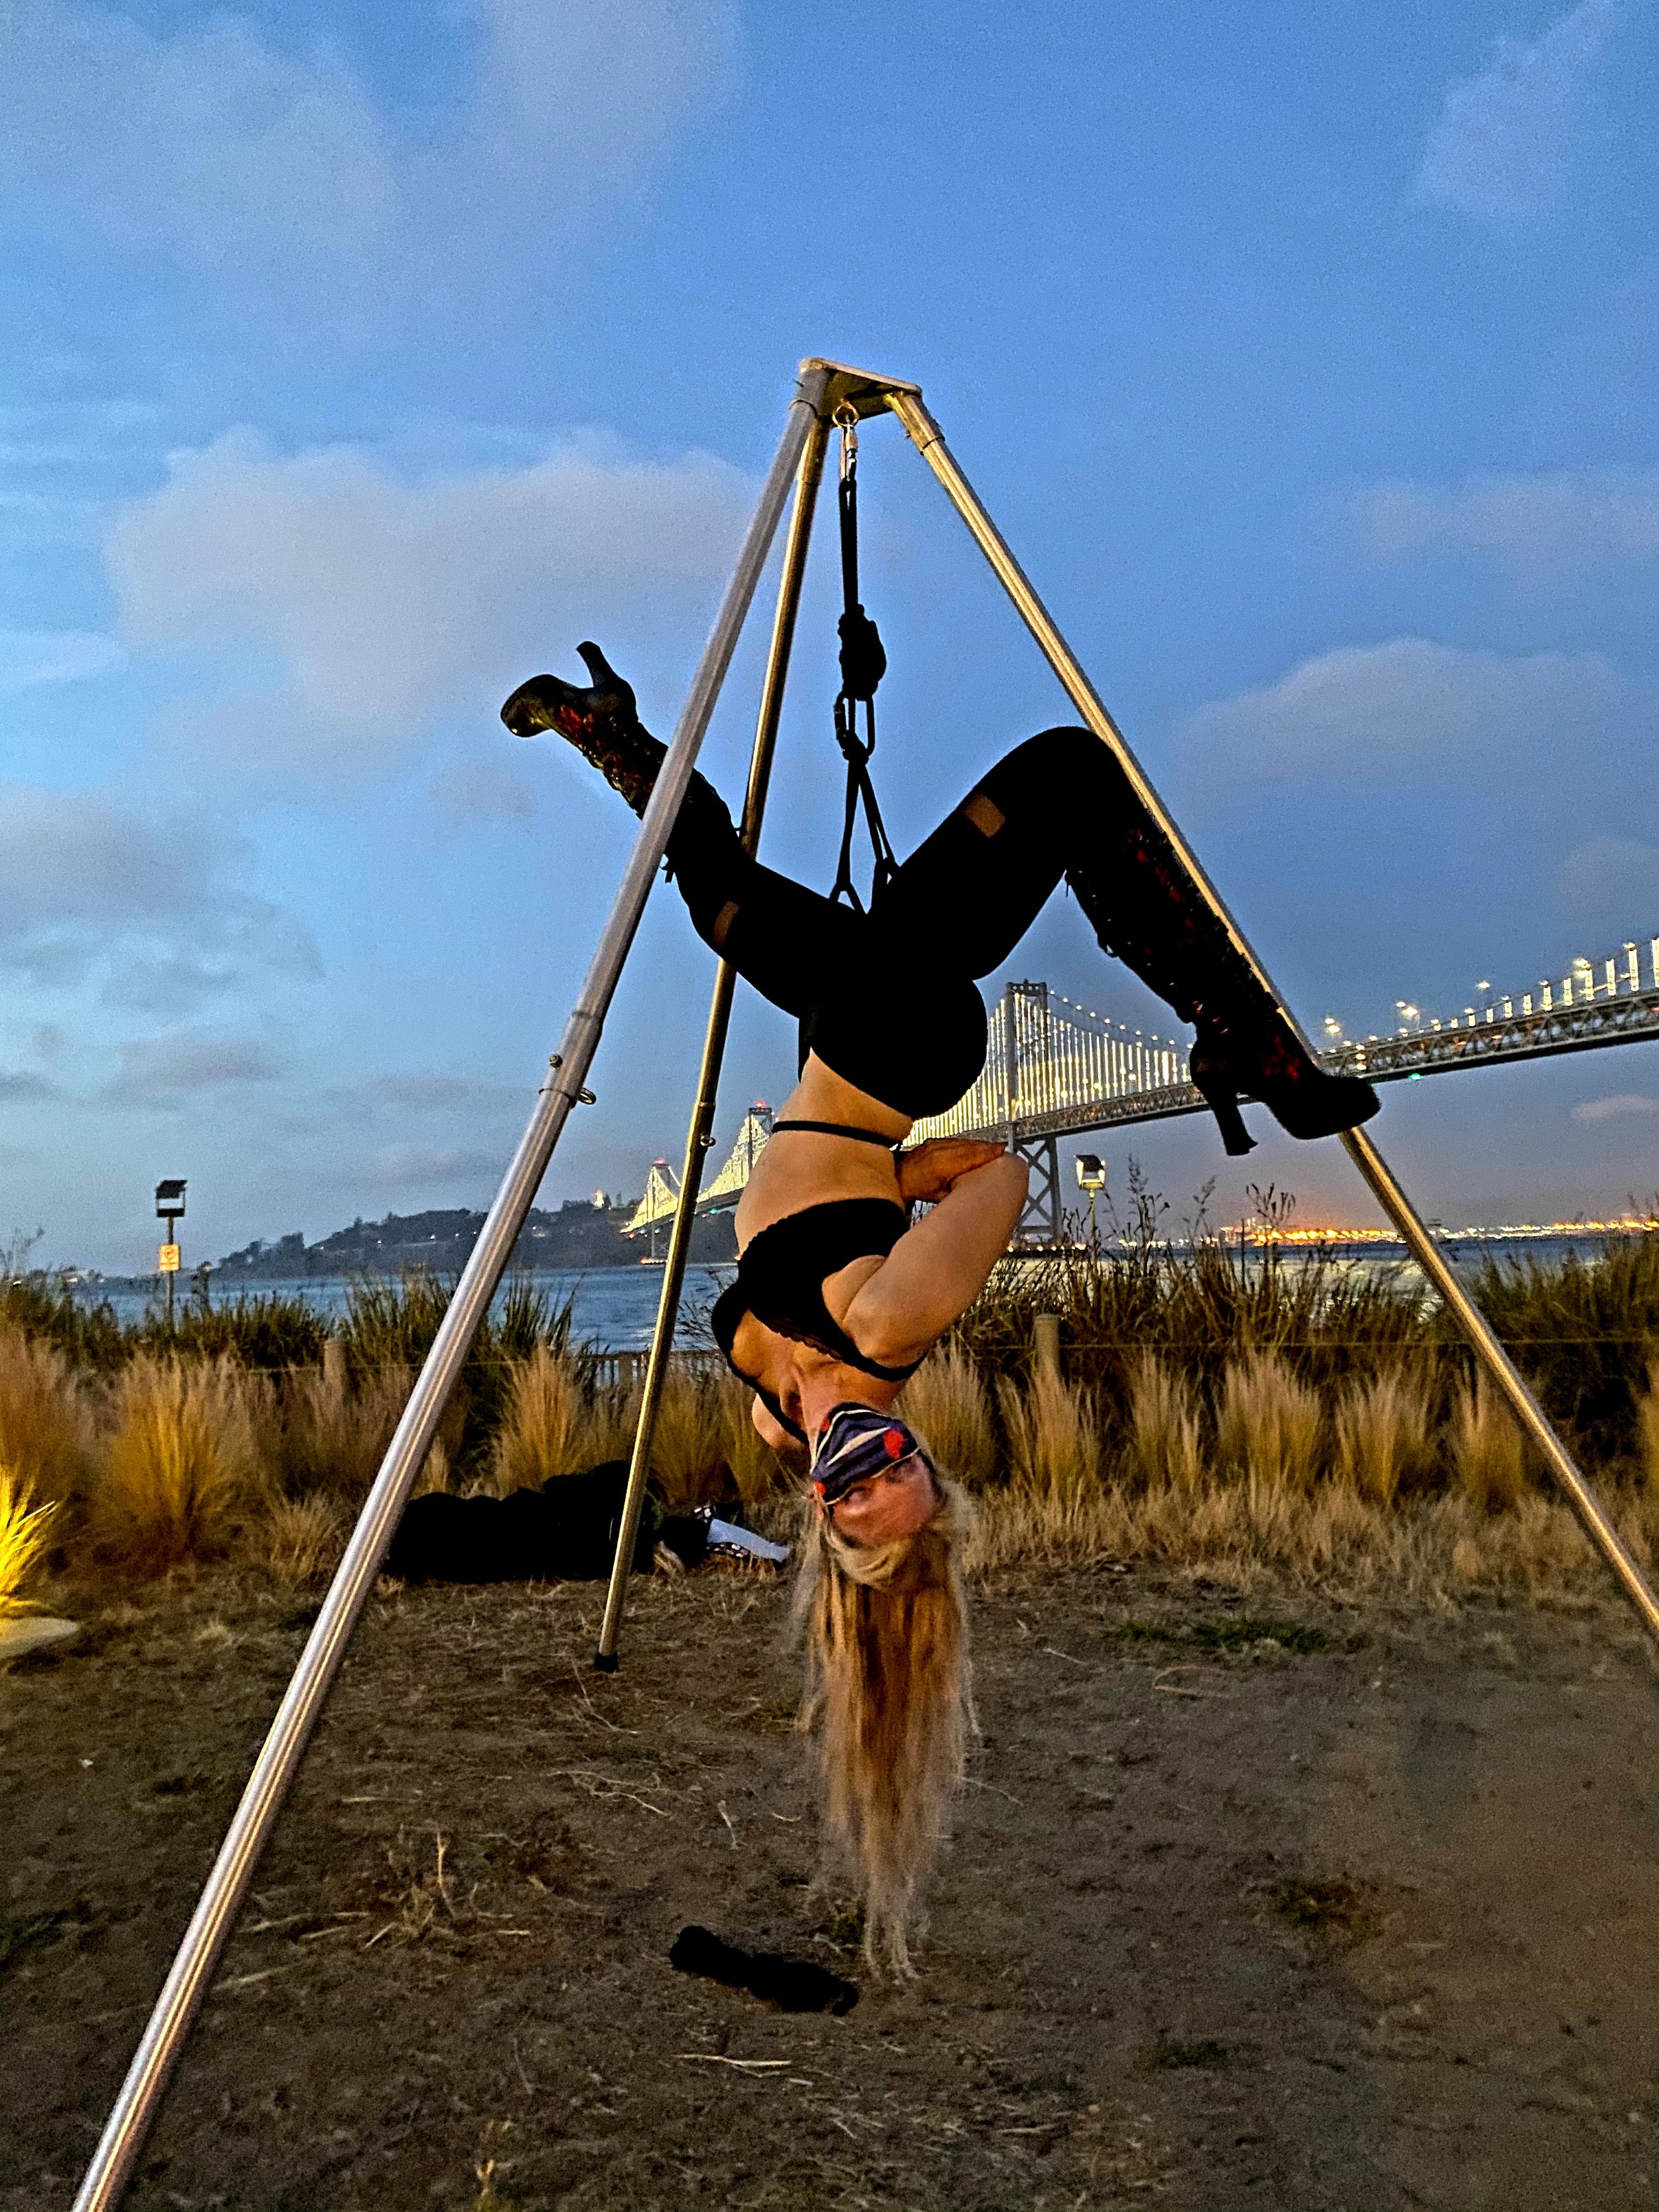
Option 3: A-Frame by X-pole
Personally, I own two A-Frames, and I use them far more frequently than any other frames I own (I also have a custom wood frame, a swingset frame, a Ludwig, and a Tetruss tripod). A-frames offer a nice balance of ease of transport and usability.
Safe working load, per the manufacturer: 320lb using a 5:1 ratio. Note that for circus-style aerial, a 10:1 ratio is standard, resulting in a working load of just 159lb. Breaking strength, per the manufacturer: 1,587lb.
Cost: approximately $700, excluding the extended top bar. The extended bar is $120 extra and well worth it.
Portability scale: 8
Once you’re experienced, the setup is straightforward and can be accomplished by two people in less than 10 minutes.
Difficult to set up solo.
On the heavy side compared with tripods.
No tools are required.
PROS:
Especially with the extended top bar, there is a fair amount of space inside the frame. There is enough interior space for me to invert, fully extend my legs, and spin without my legs hitting the frame.
Height is exceptionally flexible and adjustable, making A-frames suitable for rooms with lower ceilings (and also for larger spaces).
Relatively inexpensive.
Can accommodate bamboo or multi-point suspensions.
CONS:
Intended for static loads, not dynamic movement.
Has a fair amount of movement/wiggle. This can be disconcerting and feel insecure (I liken it to an earthquake-proof building, where the movement is by design).
Takes up a relatively large footprint.
Requires straps between the legs, which can be a trip hazard.
The weight limit means they are not suitable for multi-person suspensions.
Shay performing on an A-Frame at SF Pride.
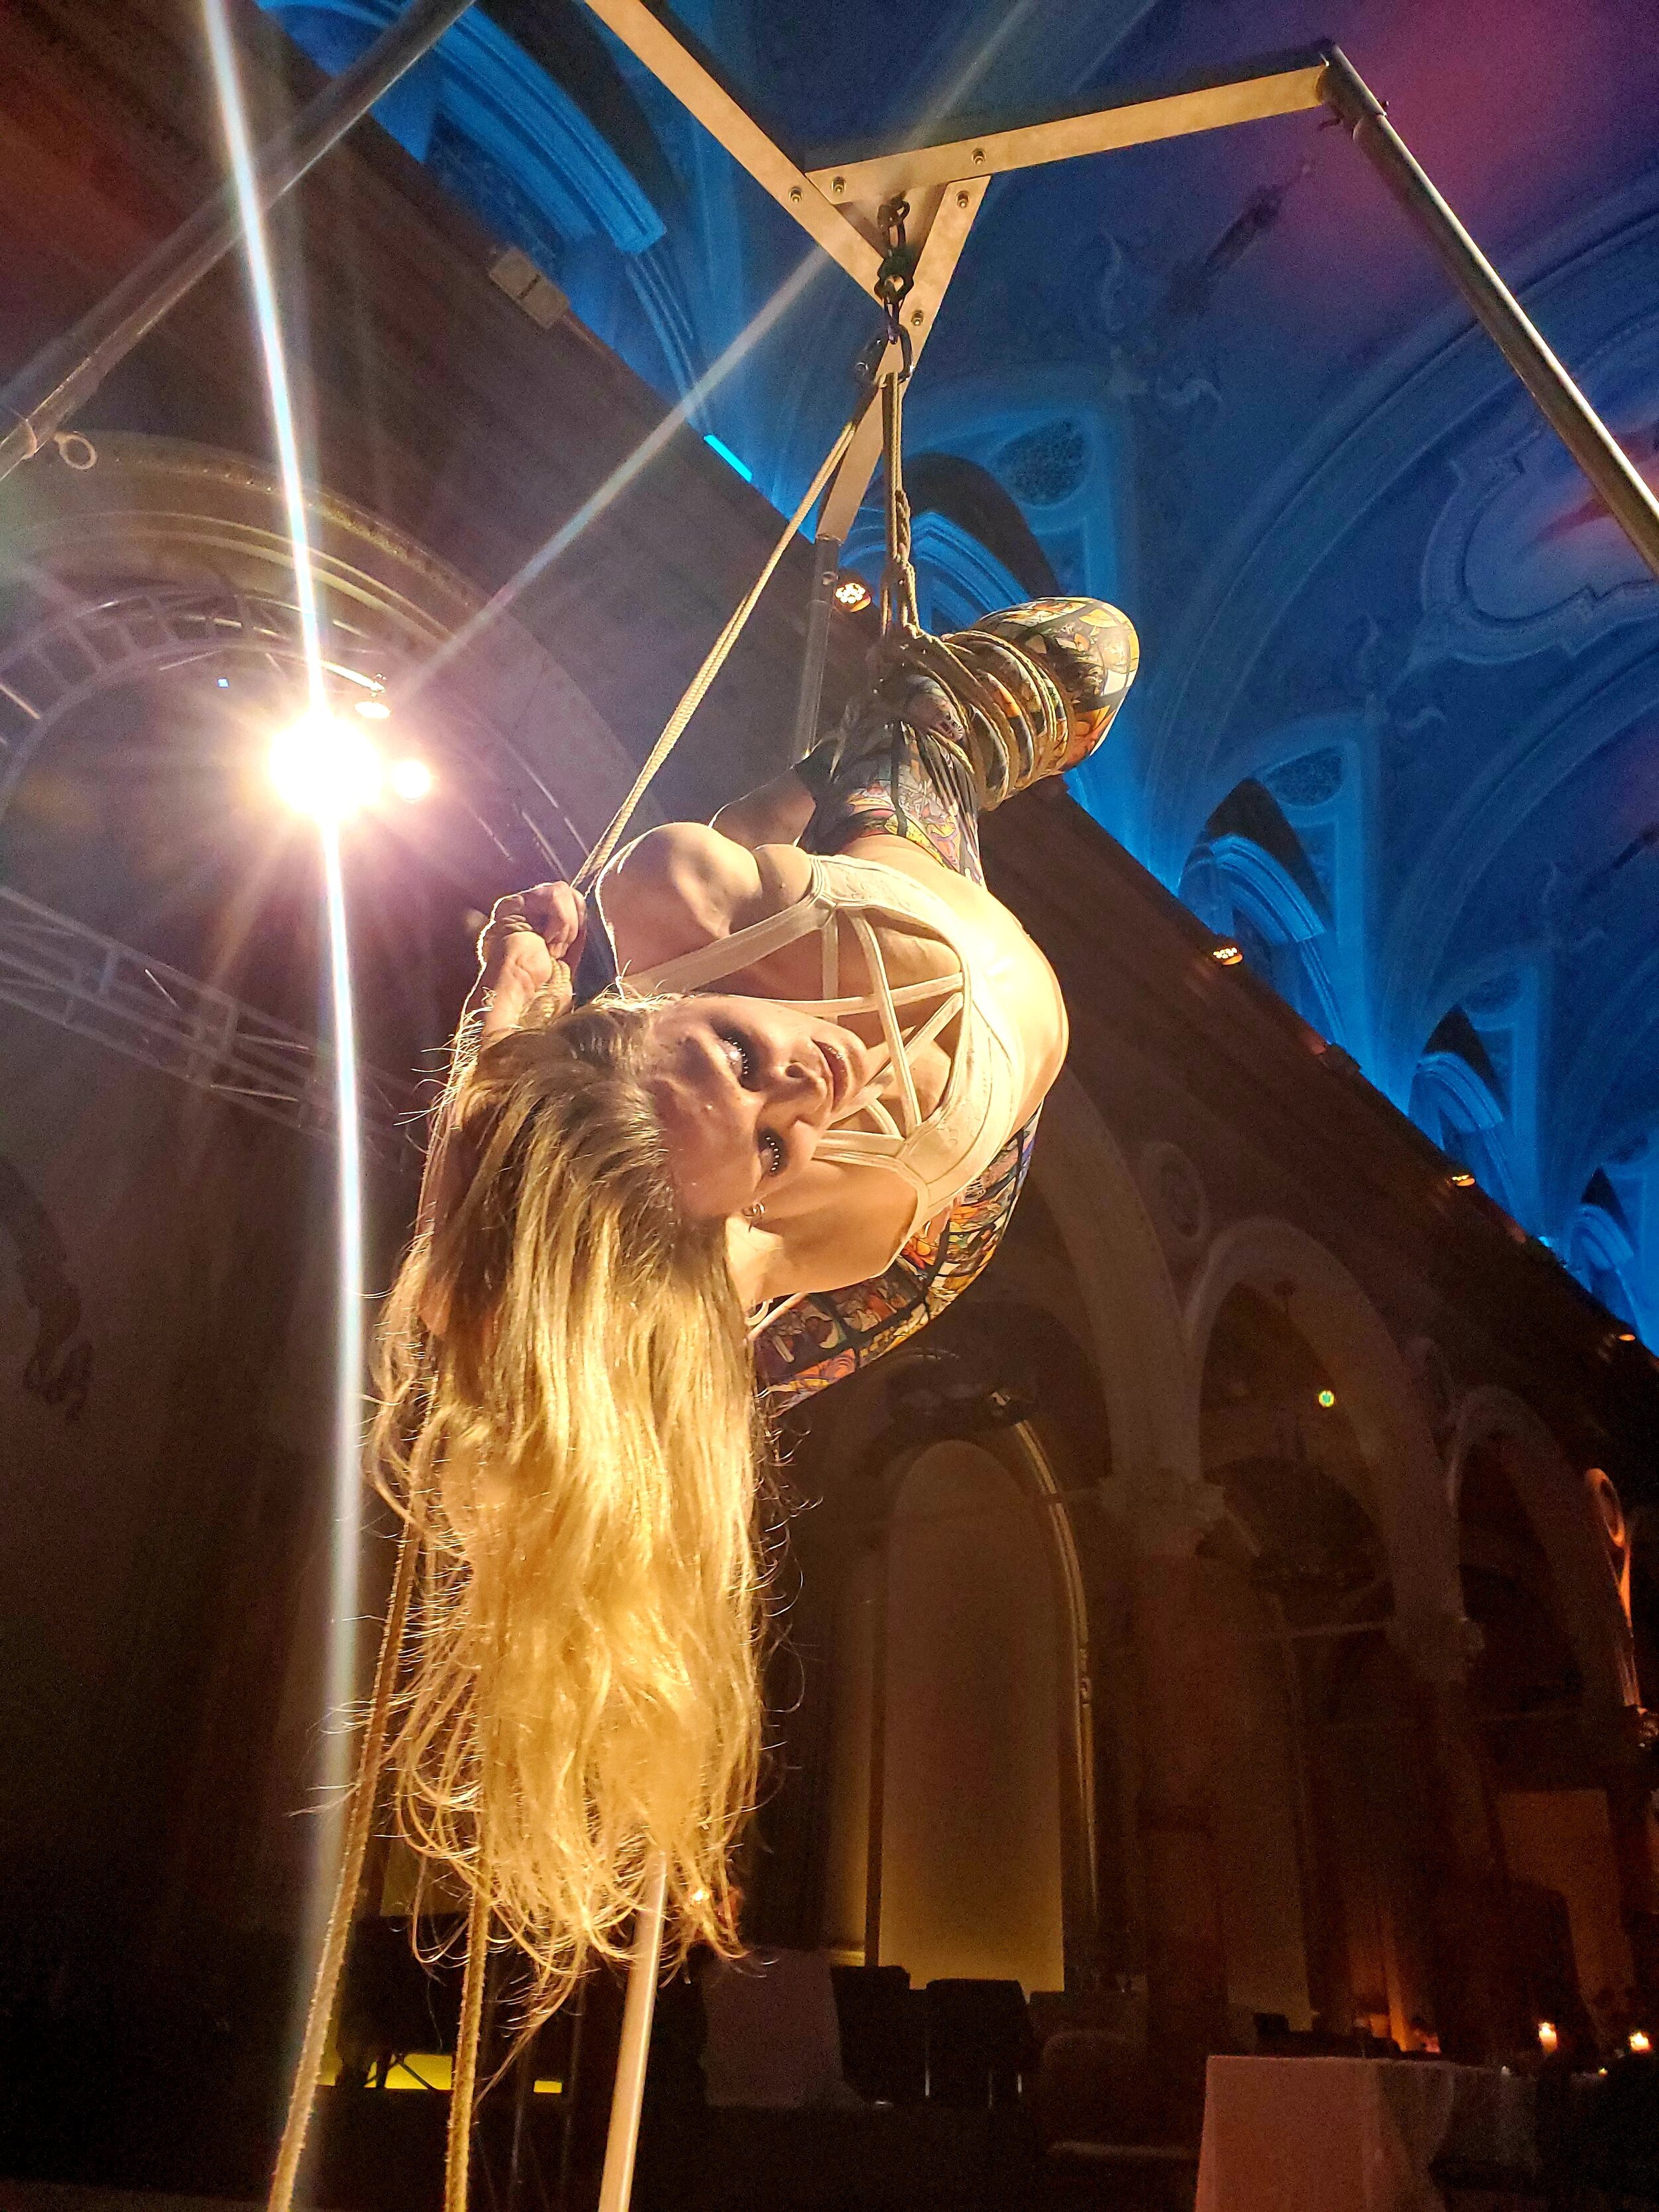
Option 4: Tripod style frames like the Tetruss (for suspension, the “Maxximus Top” is recommended) or Bonds of Steel
Safe working load: Both of the above frames list a SWL of 300lbs. The maker of the Tetruss frames provides an estimated breaking strength of 1800 - 2000lb.
Cost: Tetruss: $489 for the basic tripod, $450 extra for (necessary imo) extended top upgrade. Bonds of Steel: $1200 (comes with extended top).
Portability scale: 9
The lightest weight of all the options.
Can be set up by just one person in about 15 minutes.
Some designs require a few tools (we use a vice grip and a channel block to set up our Tetruss)
PROS:
Lightweight, easy to set up.
Relatively small footprint.
Most models do not require straps between the legs, eliminating that trip hazard.
CONS:
Cannot accommodate bamboo or multi-point suspensions.
Tends to have some movement/wiggle – in my experience, the Bonds of Steel tripods have a bit less than the Tetruss.
The narrowness of the legs limits available movement. For example, if I'm in an inversion, I cannot extend my legs and spin without them hitting the legs of the frame. Note that I’m tall and like to spread out – this could be a non-issue for a smaller human, suspension that doesn’t involve extended shapes, and/or folks who don’t like to spin.
Be sure to note your ceiling height. In some low-ceiling spaces, the standard leg lengths of these frames do not fit, and the leg height is not adjustable.
Intended only for vertical (not horizontal) load and cannot accommodate swinging. If the tier pulls from outside the tripod's footprint or the flyer swings, these frames can tip.
Shay performing on a Tetruss with Maxxiums Top
Standard Tetruss tripod (no Maxx top)
Option 5: "Swingset" style frames. There are several “official” kink ones from Bonds of Steel, or actual swingset ones, such as BETOOLL Swingset Brackets.
Safe working load:
Bonds of Steel states: “Our brackets will hold 2000 pounds, but they can only be as strong as the quality of 4x4 that you provide. We recommend limiting the weight to 400 pounds on a good serviceable 10-foot long 4x4.”
The listing for the BETOOLL brackets reports a test showing no damage with 500KN of pressure.
Cost: Bonds of Steel corners are about $400. The cost to get the lumber to complete the set-up should be less than $100. Swingset corners on Amazon, such as the BETOOLL ones, can be less than $60.
Portability scale: 4
PROS:
Quite sturdy, with little to no wiggle. Generally can accommodate more swinging than other wood frame styles (it’s right there in the name, after all).
Can have quite a large space interior space that allows for moves like spinning while extended, depending on the lengths of wood used.
Can be durable enough to leave set up outside. (Remember to inspect them frequently.)
Relatively inexpensive
Can accommodate bamboo or multi-point suspensions. Depending on the length of the top bar, they may even be able to accommodate two suspension scenes at once.
CONS:
Requires some technical knowledge and do-it-yourself-ism for the initial set-up.
Not particularly portable (wood is heavy, and the long pieces generally require a truck).
Shay, with Davey Faye, performing on a swingset style frame at RopeCraft.
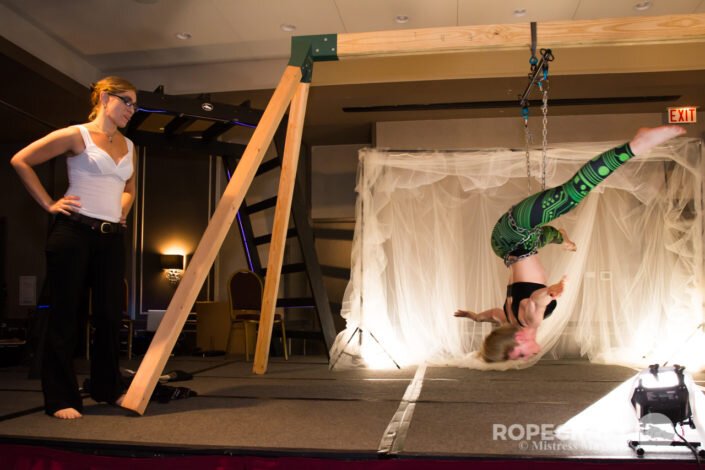
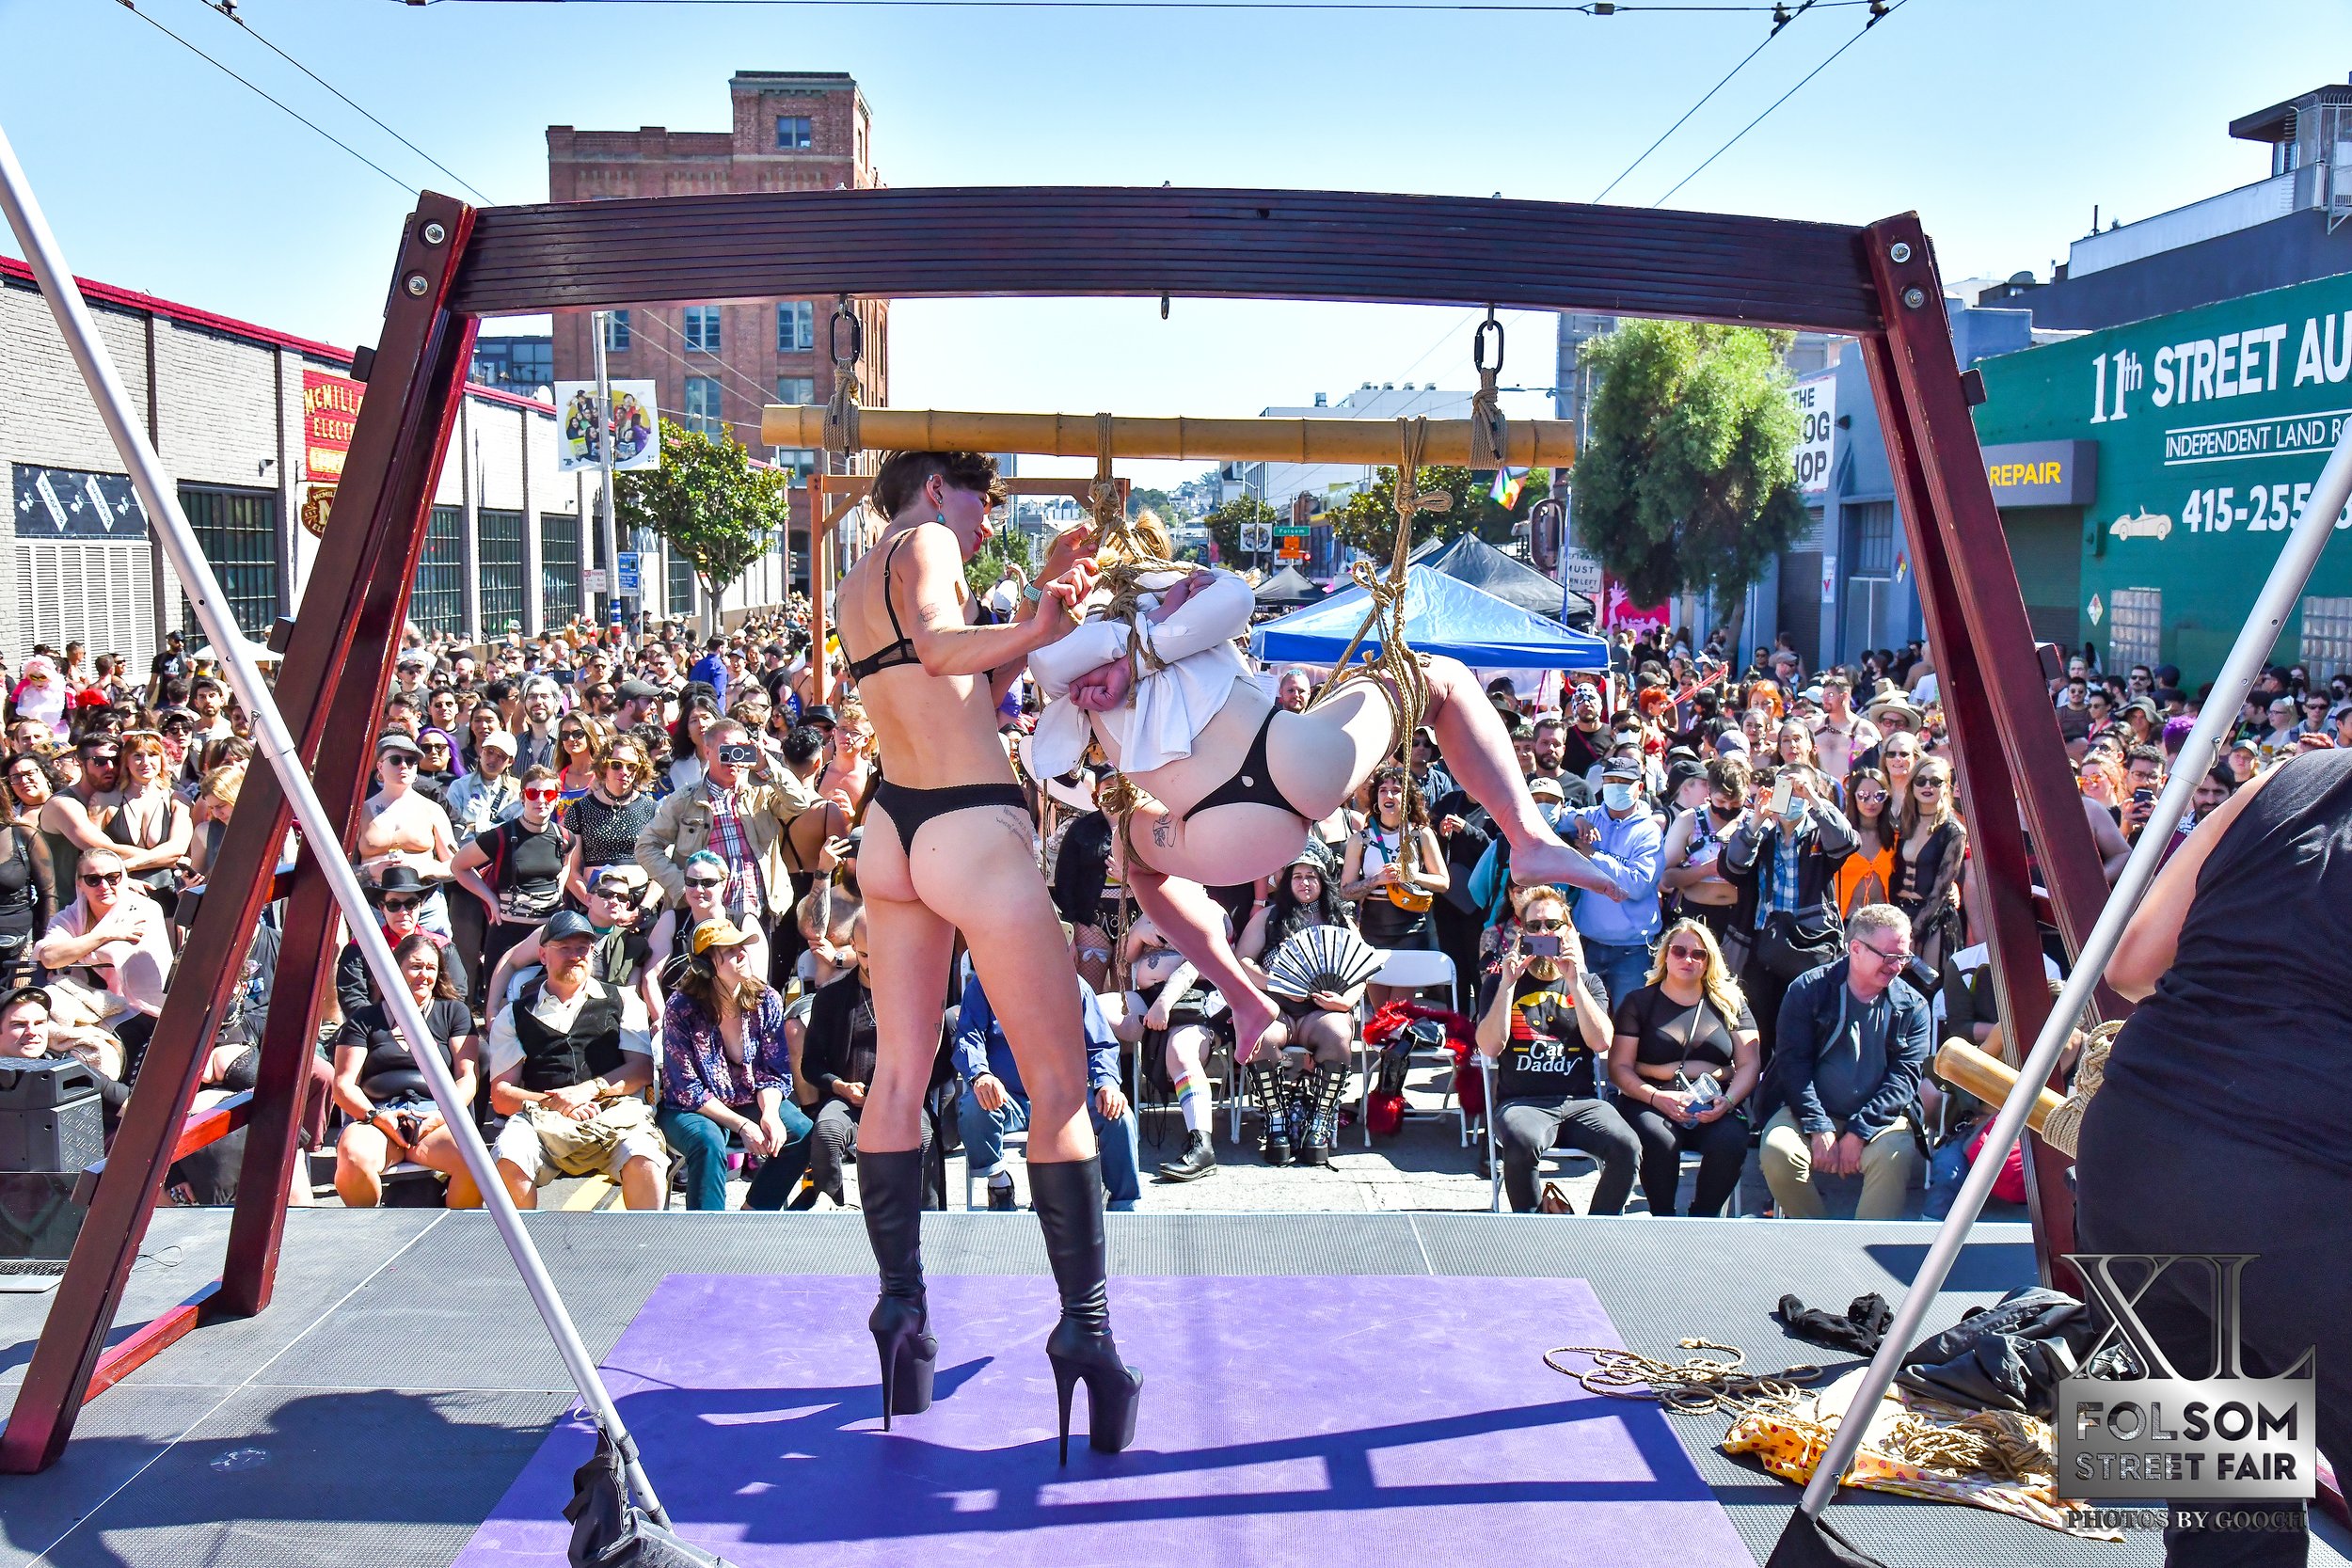
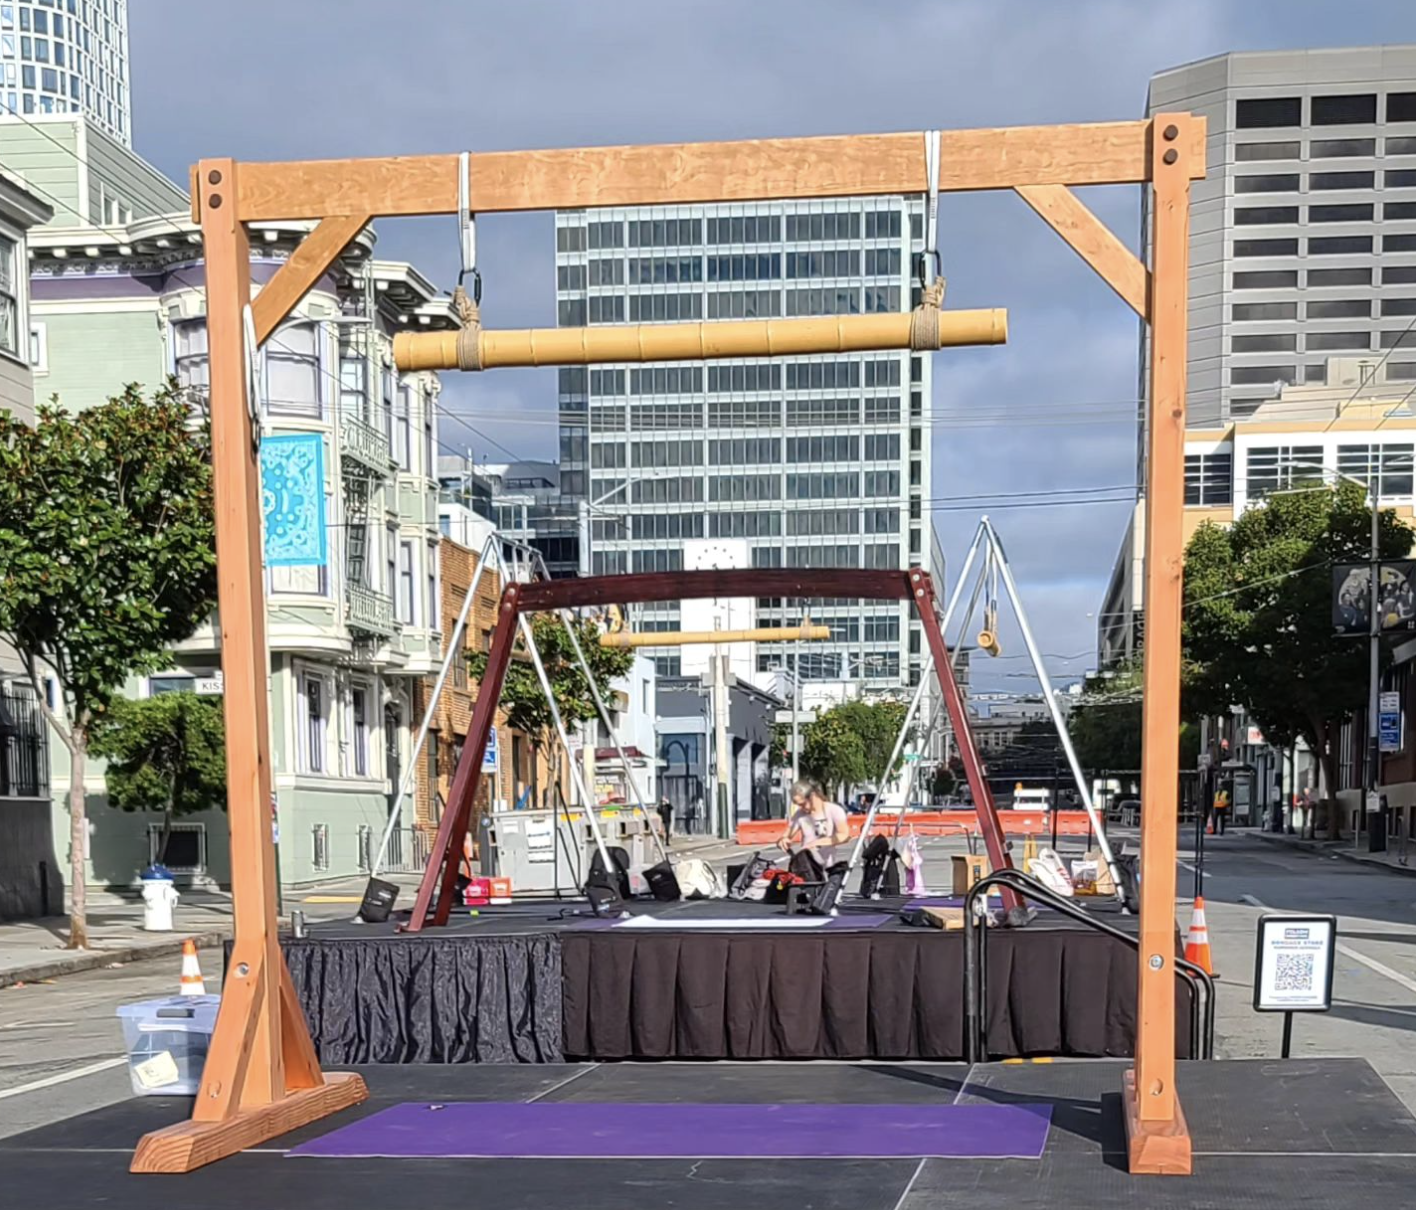
Option 6: Other styles of wood frames (pagoda, guillotine-style, and other/custom)
Safe working load: Varies/often indeterminant
Cost: Varies. Ballpark $500 - $1,500
Portability scale: Varies. General range of 3 - 5. Pagoda-style frames can be exceptionally easy to put together but quite heavy and bulky to transport; the custom cherry wood frame in the photos below rates about a 2 as it is extremely heavy and difficult to put together, requiring multiple tools and a team of at least three people.
PROS:
Generally quite spacious on the interior.
Can accommodate bamboo or multi-point suspensions.
Can be very aesthetic.
CONS:
Stability can vary. Generally, these frames are intended only for vertical (not horizontal) loads and cannot accommodate swinging. If the tier pulls from outside the frame's footprint or the flyer swings, these frames can tip.
Of note, a major potential issue with pagoda-style frames is that straps used to hang suspension hardware can slide along the beams. If this happens, or if the tier is outside the frame's footprint or the flyer swings, the frames can tip. Some frames include a “notch” to help prevent the strap from sliding.
DanceHallDyke and Slab_Me_Harder performing on a custom wood frame at Folsom Street Fair. A-frames to either side.
Shay performing on a pagoda frame.
Foreground custom wood frame, background a different style of wood frame, flanked by two A-frames.
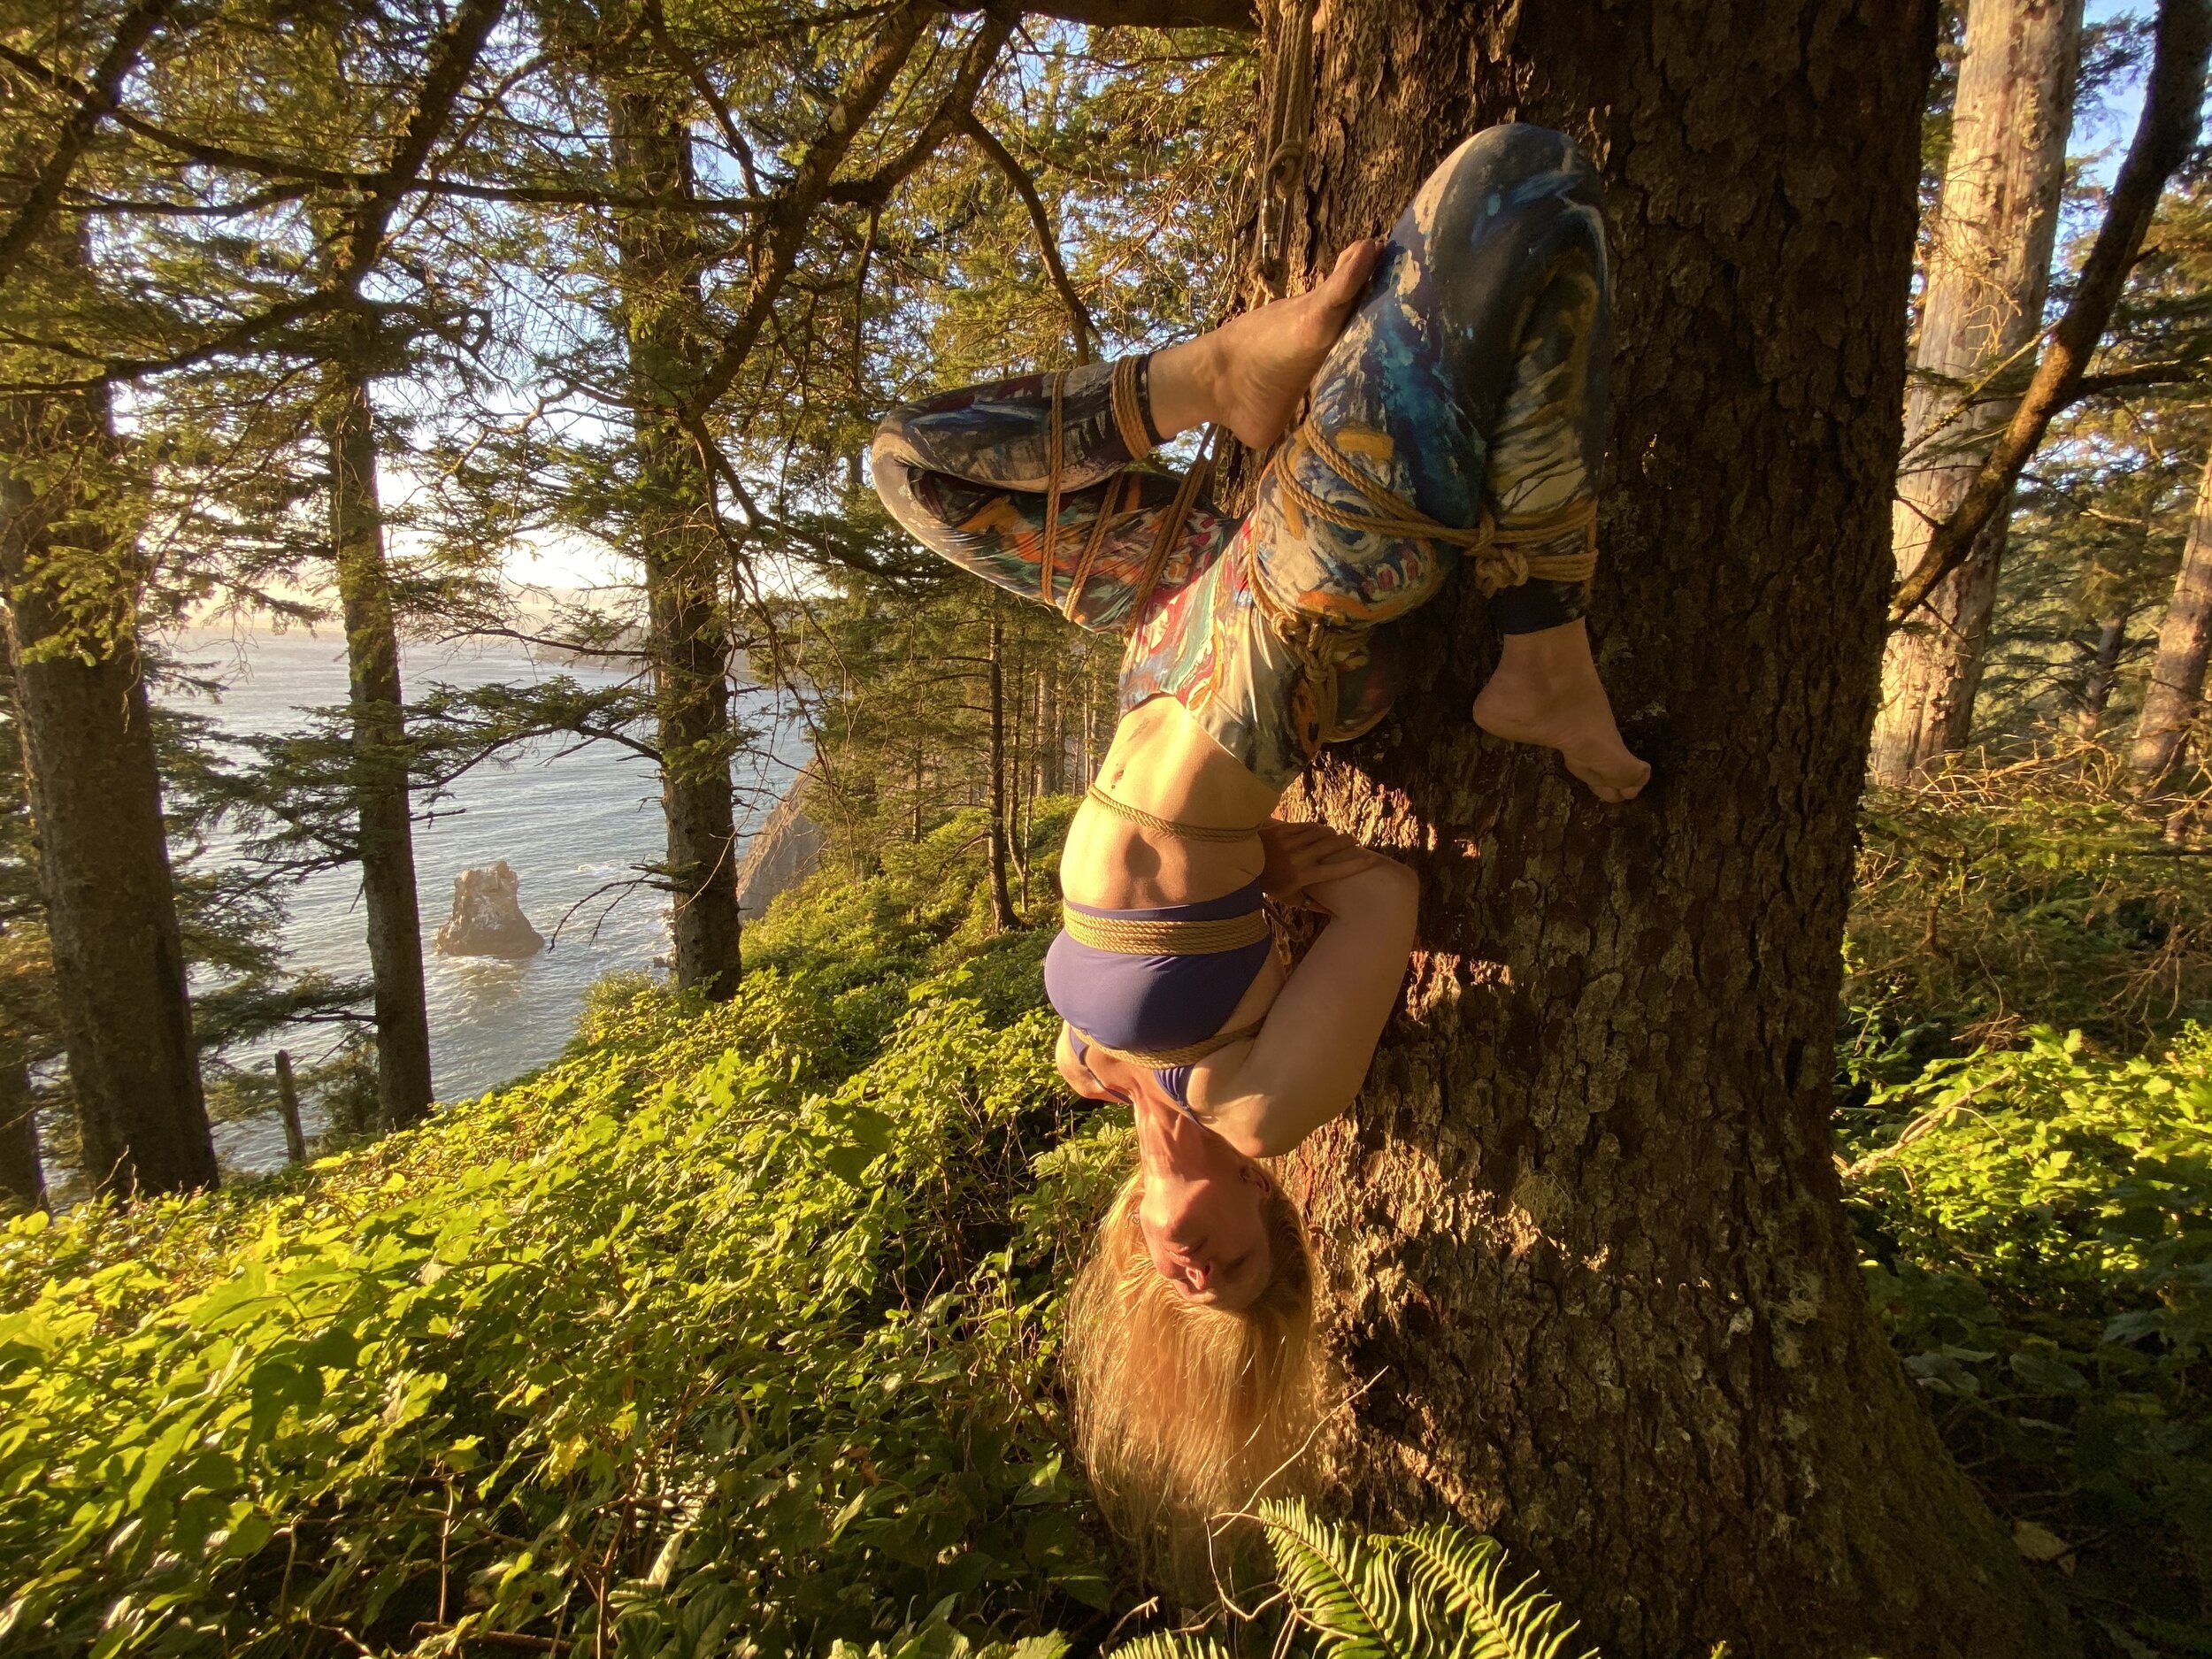
Option 7: Trees
Personally, I've used branches/trees as hardpoints a lot, but there is a high level of risk involved. Reading comment boards in the aerial rigging community, I have observed that most professional rigger's opinions on rigging from trees can be summed up in one word: "DON'T!"
If you're gonna do it anyway, advice includes:
Don't.
Consult a professional arborist.
The "would you hang your car from that" test. Would you hang your car from it? If no, you don't have a margin for error that aerial riggers would consider adequate.
Don’t do it, but if you’re going to anyway, at least use clearly alive/healthy tree branches that are at least as wide around as the torso of the person using the point.
Disclaimer: I am neither a professional rigger nor an arborist, so these are just some general thoughts!
Other options include:
Self-suspension from a beam clamp, which are great options if you happen to be lucky enough to have exposed structural metal beams.
Self-suspension from a truss structure at Dark Odyssey: Fusion.

